

This was a scenario for Naval Command set in January 1965 during the Indonesian Confrontation, with a 'What If?' Indonesian amphibious taskforce intercepted by a Royal Navy cruiser battlegroup. The Indonesian taskforce consisted of the Don class command ship KRI Ratulangi, two Skory class destroyers and three LST's. The Royal Navy battlegroup included the cruiser HMS Tiger, the guided missile cruiser HMS Kent, three frigates, HMS Dido, HMS Ajax and HMS Whitby, with the attack submarine HMS Alliance. The Indonesians had to cross the table without being detected, while the Royal Navy had to intercept and destroy the Indonesian task force.


In the first three turns nothing much happened as both forces moved onto and then across the table from their respective starting points. In Turn 4, however, one of the destroyers, KRI Sandjaja, detected the deep running HMS Alliance using her active sonar and was in turn detcted by the submarine's passive sonar. The destroyer was detached to investigate the contact, while the convoy began evasive zig zags just in case of torpedo attack. In Turn 5, KRI Sandjaja began the first of five successive but unsuccessful attacks on HMS Alliance using her RBU-600 anti-submarine rockets, which effectively removed both vessels from the rest of the action.

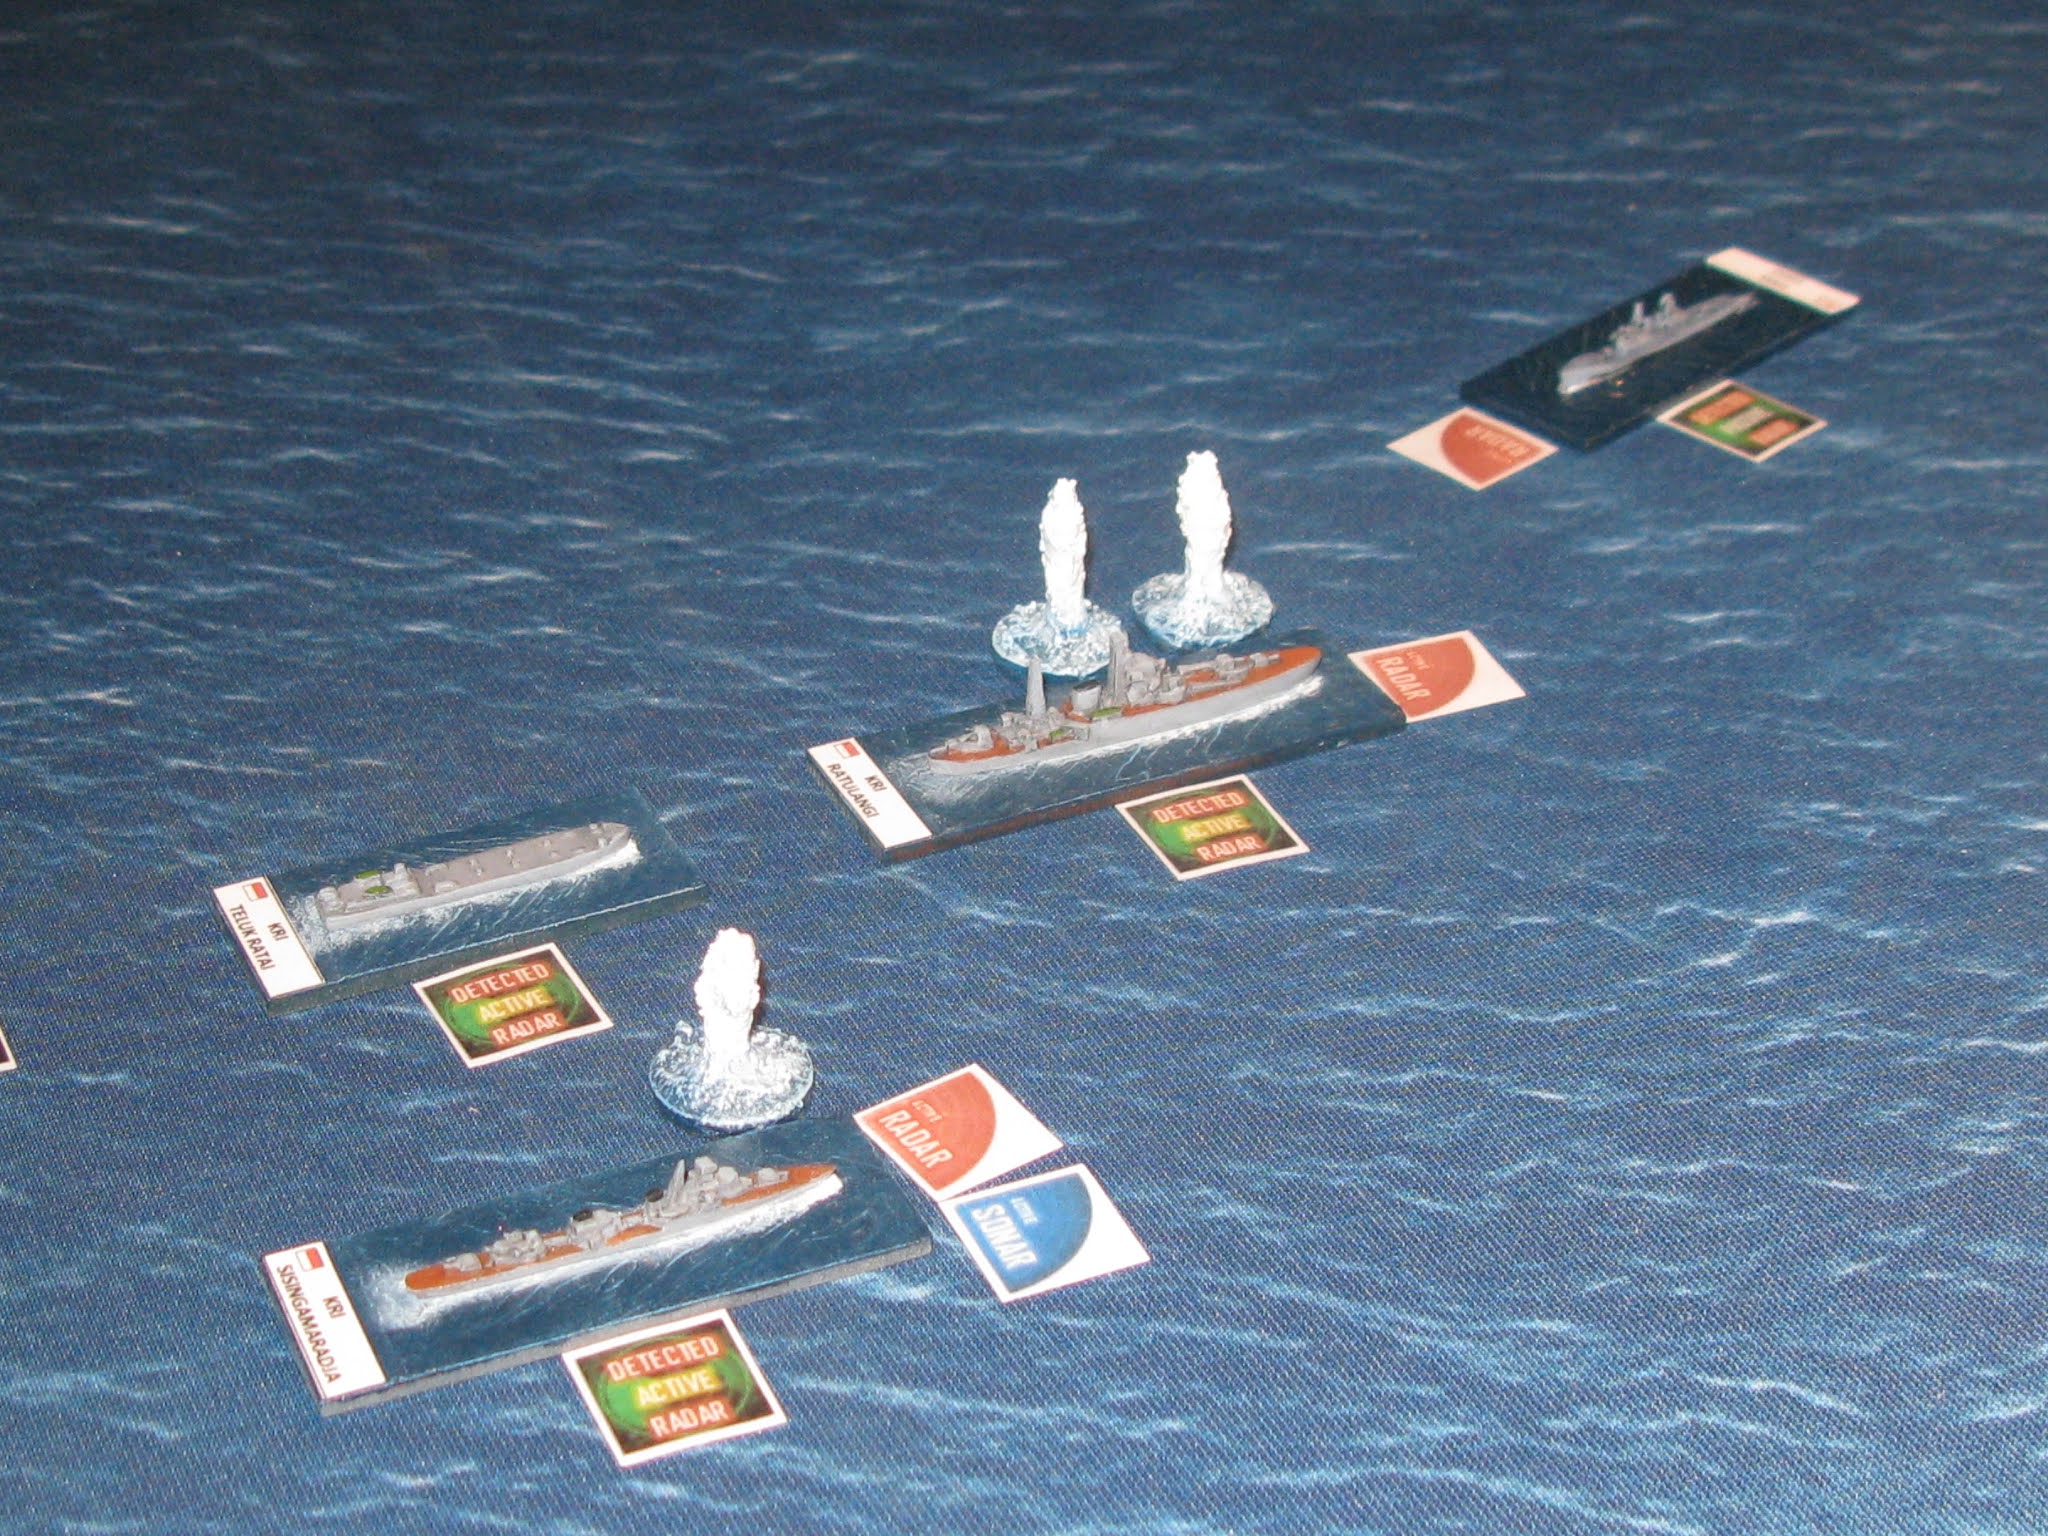


Meanwhile, the Indonesian convoy and the Royal Navy battle group continued to stumble along in the darkness until Turn 7, when HMS Dido finally detected KRI Ratulangi, initiating a formation turn to port by the Royal Navy warships as they moved to intercept the contact. In Turn 8, further active radar contacts were made by both sides, which opened up the chance of some action in the attack phase. HMS Dido launched three light guided torpedoes at KRI Ratulangi, two of which hit home with the third going on to hit the escorting destroyer, KRI Sisingamangaraja, causing light damage to both targets.


KRI Ratulangi fired back with her medium and light guns, scoring one hit on HMS Dido and a light damage result. HMS Tiger now opened up on the Ratulangi with her four heavy guns, gaining two hits and further light and heavy damage, which started a fire and knocked out her engines. In the damage control phase both HMS Dido and KRI Ratulangi managed to remove a light damage counter but the fire on the latter spread, which put the light damage counter back again. In Turn 9 the Indonesian convoy split with the LST's and KRI Sisingamangaraaja making a break for the edge of the table, while KRI Ratulangi crept along at half speed, covering their escape.


The Royal Navy advanced to stop the convoy getting away with HMS Dido successfully detecting KRI Teluk Bajar, one of the LST's, using her active radar. In the attack phase, KRI Ratulangi and HMS Dido exchanged fire again, with the guns of the command ship hammering the frigate but HMS Dido's torpedo salvo wreaking havoc on the KRI Ratulangi. This was compounded by HMS Ajax, which fired another salvo of torpedoes into the command ship, blowing her out of the water. HMS Tiger also fired on KRI Sisingamangaraja but only scored single hit. The destroyer couldn't return fire as she hadn't yet positively detected any targets and was still out of visual range.
In Turn 10, KRI Sandaja finally gave up her attacks on HMS Alliance, having exhausted her RBU-600 rockets, so headed south towards the convoy to provide support, detecting HMS Dido with her active radar as she approached. In the attack phase, the destroyer launched five heavy torpedoes at the frigate, two of which hit and caused critical damage, sinking HMS Dido due to her existing heavy damage. This move, however, gave HMS Alliance a clear shot with her torpedoes as she had already gone to shallow depth and had positioned herself astern of the destroyer. The salvo caused four hits, which sank the KRI Sandjaja after she failed to repair the extensive damage that she suffered.
The other destroyer, KRI Sisingamangaraja, now came under intensive fire from both HMS Tiger and HMS Whitby, which inflicted critical damage, set her on fire and brought her to a halt. Although she remained afloat, with two heavy damage, two light damage and four fires, she was effectively out of action and would probably have been abandoned by her crew. HMS Kent also managed to get into the fight, with a salvo of three light guided torpedoes sinking the LST, Teluk Ratai, with three hits and a subsequent failed damage control roll sending her to the bottom of the Sulawesi Sea.
At the end of the game, the Indonesian convoy had lost all of it's escorts and two LST's were now completely unprotected, with the entire Royal Navy battlegroup in close proximity. The Royal Navy had lost one frigate, while the Indonesians lost two destroyers, a command ship and an LST. They had put up a good fight, nonetheless, but the invasion plans were now definitely cancelled, leading to a back down by the Sukarno regime and the UN stepping in to calm things down. In the campaign, the Royal Navy had initially suffered some setbacks but had clearly overcome these and succeeded in putting the Indonesian threat back in its box.
I have enjoyed this campaign and will be running more Naval Command games soon, this time set in the early 2000's, with the Chileans and Peruvians (and possibly the Argentinians) engaged in a 'What If?' regional conflict of some sort. I've got a good handle on the rules now and have ironed out some of the wonky bits that I either didn't get right first time round or that didn't make sense.
A brisk action, and you have the balance of play just right. In the few modern naval games I played at an old wargames club everyone would let fly with everything they had on turn one then spend the rest of the game rolling damage control.
ReplyDeleteThanks for the campaign reports - I have enjoyed following them
ReplyDeleteGreat little campaign.
ReplyDeleteGreat stuff- I've enjoyed folllowing it along.
ReplyDeleteCheers,
Pete.
Excellent report Jim. Could I ask a question please
ReplyDeleteHow do you handle firing/launching torpedoes?
Do you simply ‘launch’ a torpedo and if the target is within 12Nm range you roll to hit as per the unguided weapon to hit chart...with a ‘spread’ of torpedoes simply enabling more ‘to hit’ die rolls?
Cheers